Sunset Outing at Taman Tasik Titiwangsa

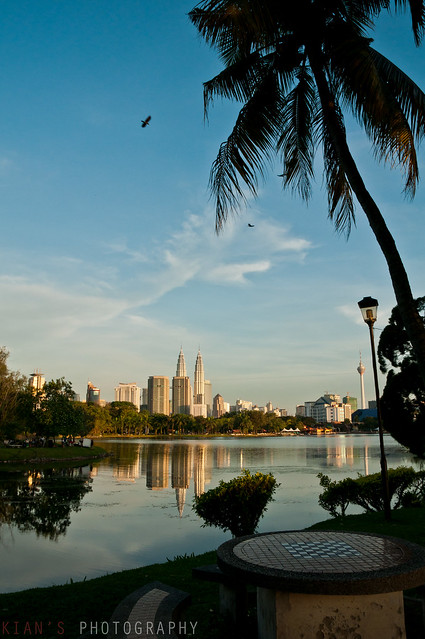
This is actually my second visit to this place. What attracts me to this place is actually the lake which reflects the concrete jungle at the heart of KL. However, the sun will set behind you if you are shooting the lake reflection of KL. Regardless, my last visit was a very windy day and I could not get a clear shot on the reflection from the lake. I'm here to try my luck again!
There are few things I think should be keep in mind when doing landscape photography:
- Rules of third (concept)
This rule is true 95% of the time, not only for landscape but all the photography. However rules are meant to be broken.
- Foreground interest (concept)
Always try to include some foreground object such as rocks, grass, bench for instance to let the viewer have the sense of space.
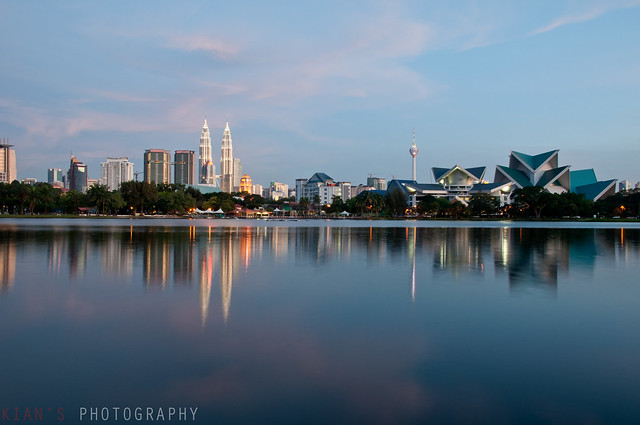
- Symmetrical shot (concept)
When you are trying to capture the reflection alone, you may just split the frame to half horizontally to the symmetrical effect.
- bracketing
Always take your shot with a stop of exposure under and over on what your camera is suggesting. You never know which you will actually preferred until you compare it. Meanwhile, you may do HDR processing.
- Lead of lines (concept)
There should be clouds, roads, wooden fence that will draw audience attention into the frame.
- Tripod & cable release ( if it involves long exposure )
A good tripod is necessary to get a firm platform for you to shoot while cable release minimize the vibration you caused while pressing the shutter button on the camera body. Using timer will do the trick as well but you never know what will happen 5 seconds later (if you are doing traffic trails, you have to predict when will traffic passing by and start the timer in advance).
- Lens hood on all the time
This is to reduce glare and reflection besides protect the front lens elements when there is not filters.
- No UV filter
Even you have the best UV filter in the world, there always will be a slight blockage in light transmission into the lens. Besides, it induce flare and reflections as light travel though extra layers of medium before get into the sensor.
- Use ND filter / Polarizer instead for some creative effect
The purpose of ND filter is to stop down light from reaching your sensor, hence allowed you for a longer exposure. This is particularly useful when you are doing seascapes, where by those wave actions turns the sea into fumes effect. Polarizer is use to darken the skies, and reduce non-metallic reflection. Hence, in this particularly outing, it is not really useful.
- Be there early
If you not familiar with the destination, be there early to scout for potential spot for your shooting. Don't be too obsessed with the spot, once got the exposure right, move on!
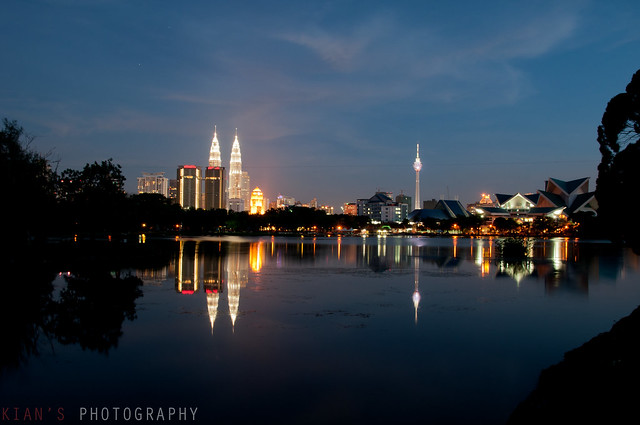
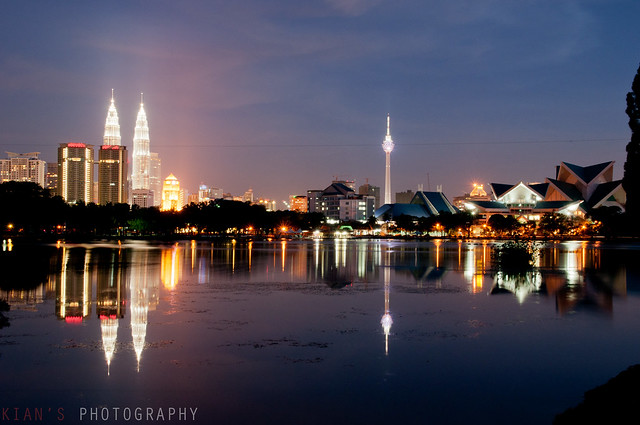
Here I would like to give you an idea how roughly the light changes as the sun is setting.
20 mins before sunset
| ||
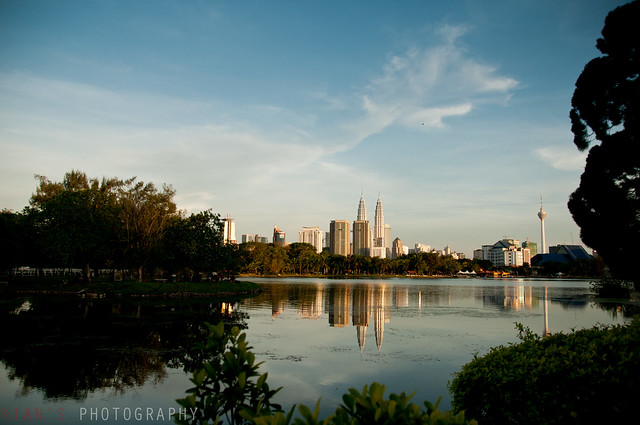
15 mins before sunset
| ||
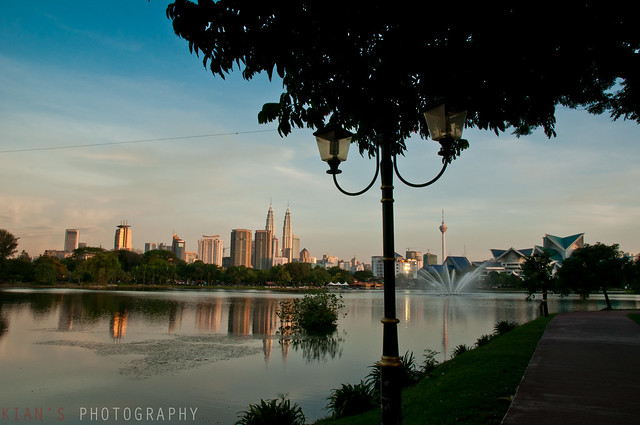
5 mins before sunset
| ||
Sunset
| ||
5 mins after sunset
| ||
10 mins after sunset
| ||
15 mins after sunset
| ||
25 mins after sunset
| ||
27 mins after sunset
| ||
30 mins after sunset
|


Thank you for reading and I hope this helps. C&C are welcome.
Contact Me!!


0 comments:
Post a Comment